
The Legend of Zelda: Tears of the Kingdom gamers want to collect all of the Purah Pad upgrades in the event that they need to have a neater time saving Hyrule!
All Purah Pad Upgrades in Tears of the Kingdom
Listed here are all of the upgrades that gamers can get for the Purah Pad in The Legend of Zelda: Tears of the Kingdom:
- Digicam
- Autobuild
- Shrines of Mild Sensor
- Hero’s Path
- Journey Medallion (x3)
- Sensor +
After getting the Paraglider from Purah close to the beginning of the sport, gamers unlock the power to get upgrades for his or her Purah Pad.
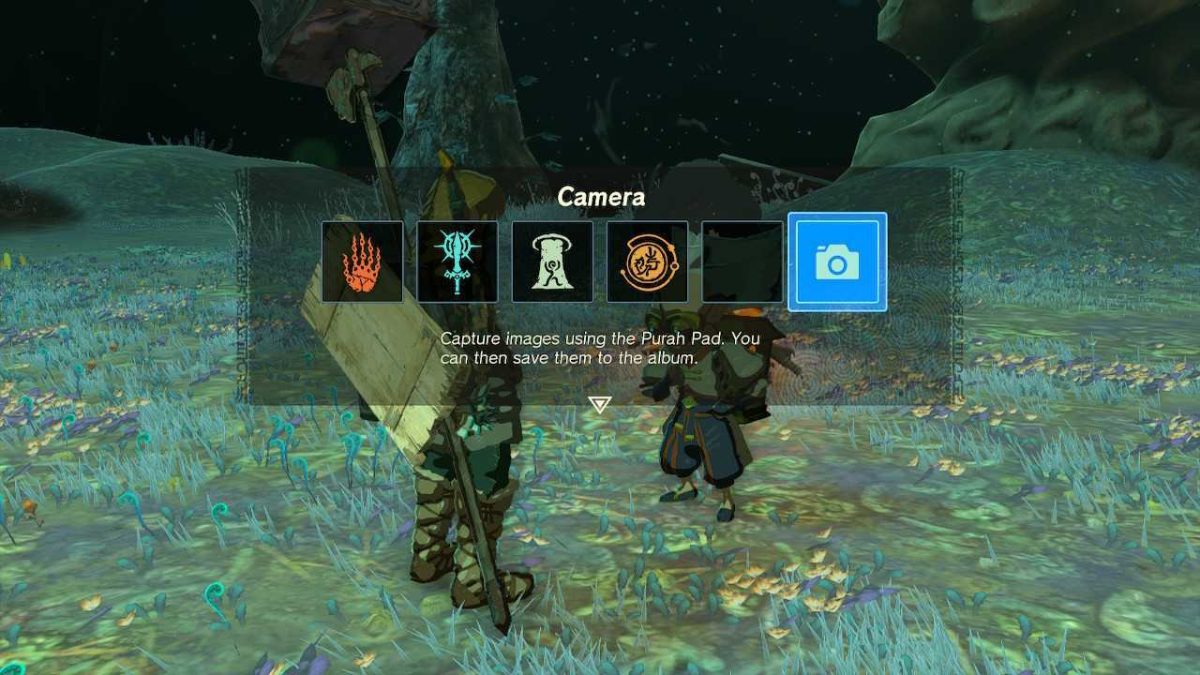
First up, right here’s the right way to get your fingers on the Digicam.
Find out how to Get the Digicam in Tears of the Kingdom:
- Discuss to Robbie and Josha at Lookout Touchdown (Coordinates -0223, 0062, 0018).

- Head immediately south to the Hyrule Discipline Chasm (Coordinates -0248, -0269, -0471).
- Bounce down into the Chasm and use your Paraglider to outlive the autumn.
- Discuss to Ponnick who’s camped out on the highlighted location.
- Make your manner over to the Nisoij Lightroot which is seen from Ponnick’s camp, and work together with it to gentle it up.
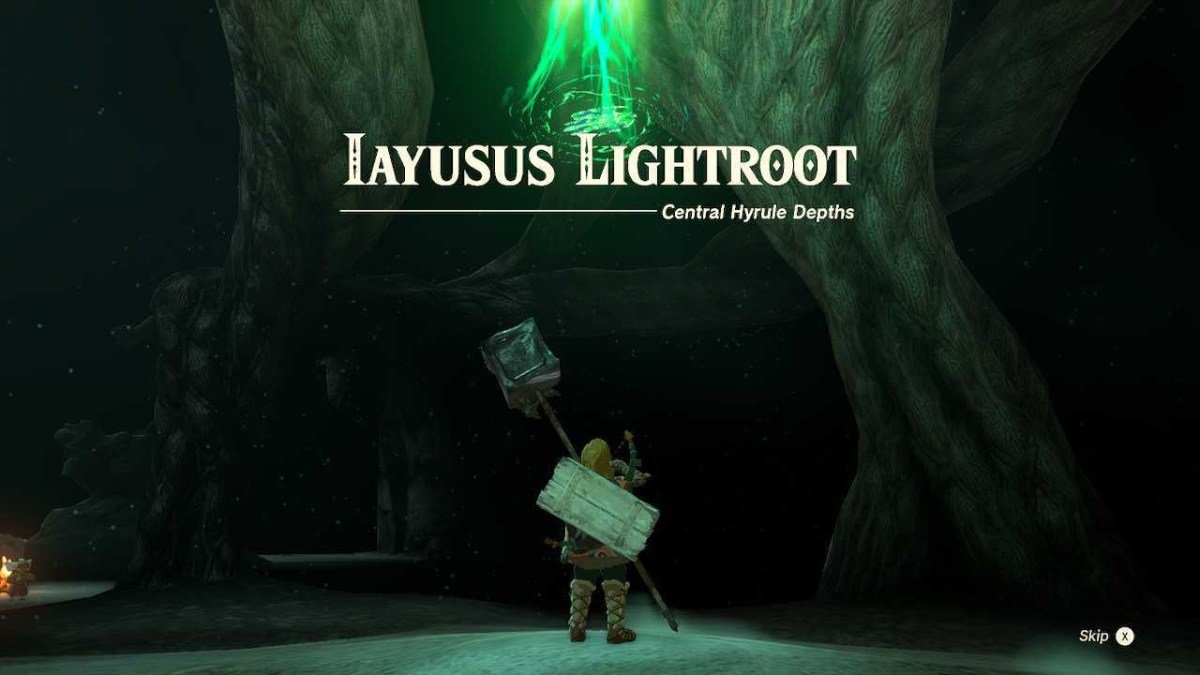
- Head immediately west to the Iayusus Lightroot and work together with that one too.
- Proper beside it, you’ll encounter Robbie. Discuss to him and also you’ll unlock the Digicam, together with the Compendium on your Purah Pad in Tears of the Kingdom!
- He’ll then ask you to take an image of a close-by statue, which can turn out to be useful later.
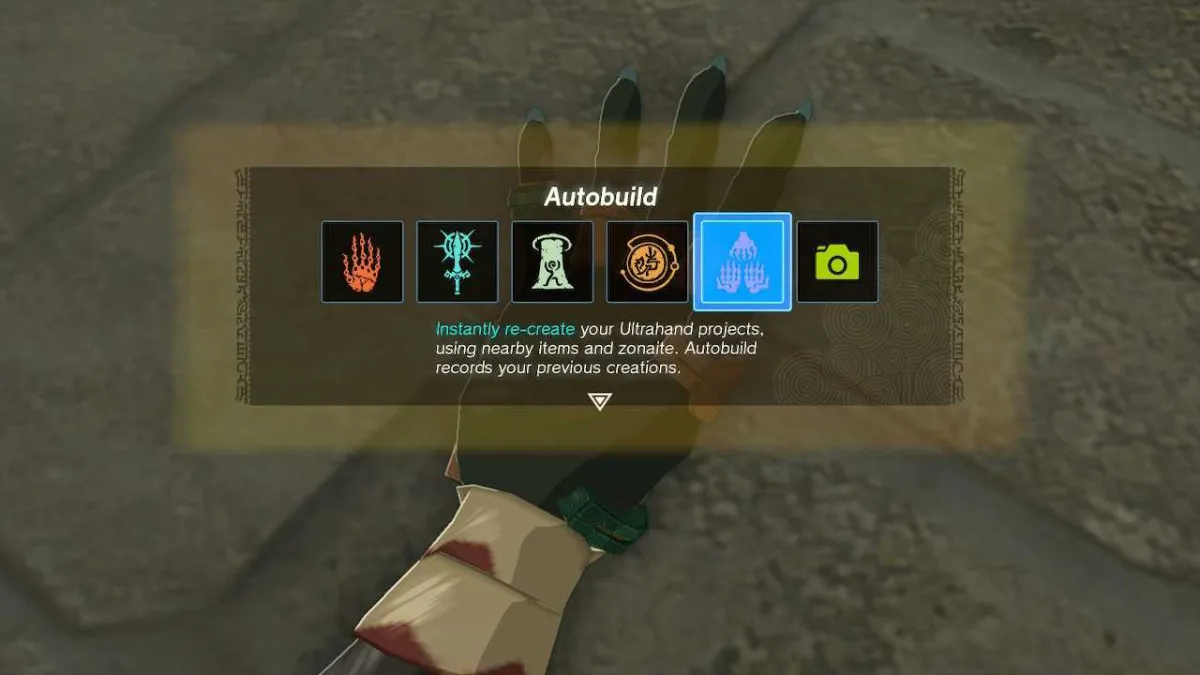
Find out how to Get Autobuild in Tears of the Kingdom
To get Autobuild you should have already unlocked the Digicam in Tears on your Purah Pad. You should even have progressed the primary story of TOTK till Josha and Robbie are prepared to speak once more.
For us, the subsequent quest was solely out there after we’d accomplished our first dungeon (The Temple of Wind).
- Then, return to Josha and Robbie at Lookout Touchdown (Coordinates -0223, 0062, 0018).
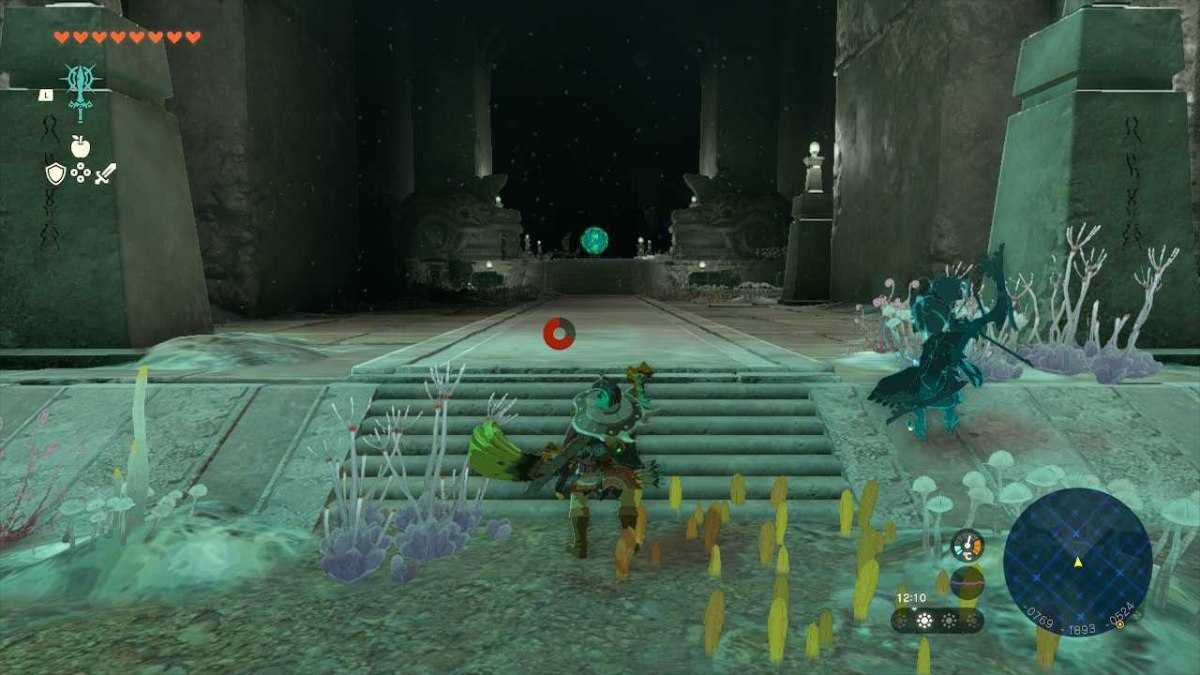
- This time, speaking to the duo will get them to ask Hyperlink to comply with the statues in The Depths till he finds an underground temple.

- Return to The Depths and comply with the instructions every statue is going through till you come to the Nice Deserted Central Mine (Coordinates: -0806, -1926, -0520).
- Work together with the Inexperienced Zonai Circle within the Temple and also you’ll activate the Steward Assemble.
- Then, defeat the boss combat with Grasp Kohga of the Yiga Clan and also you’ll get the power to Autobuild.
- Discuss to the Steward Assemble once more earlier than you permit to obtain the Schema Stone, full with a brand new schematic for a flying machine.
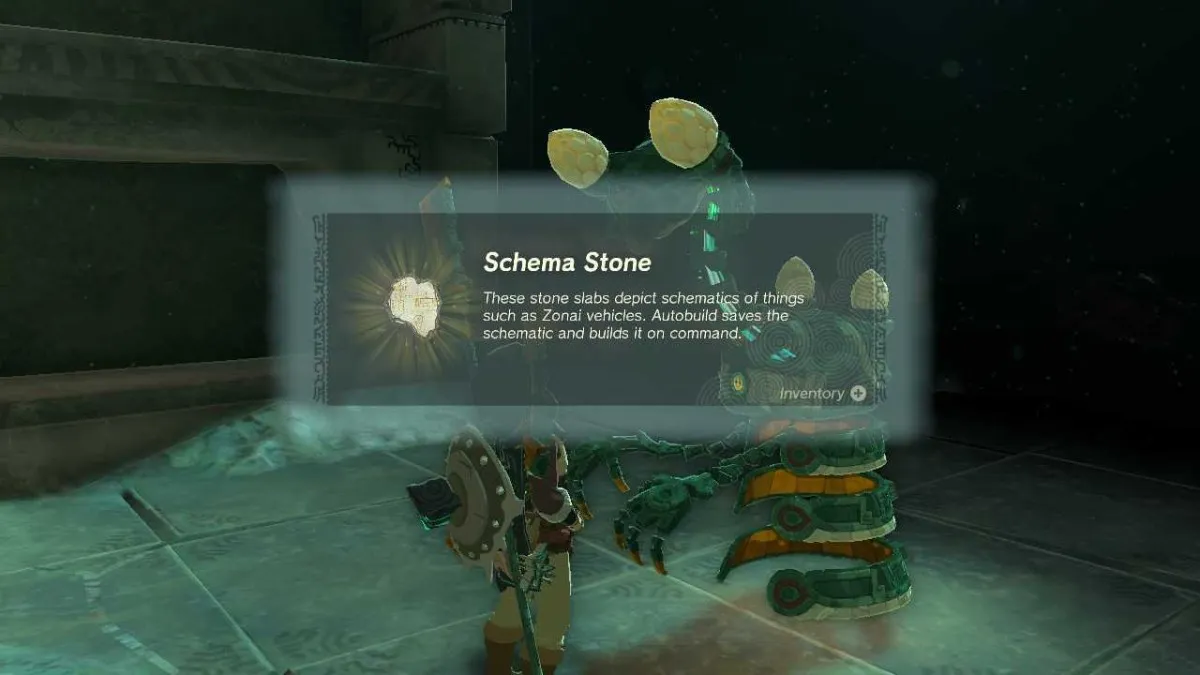
- Return to Josha in Lookout Touchdown to get yet one more Schema Stone, a Scorching Air Balloon schematic.
Find out how to Get Shrines of Mild Sensor in Tears of the Kingdom
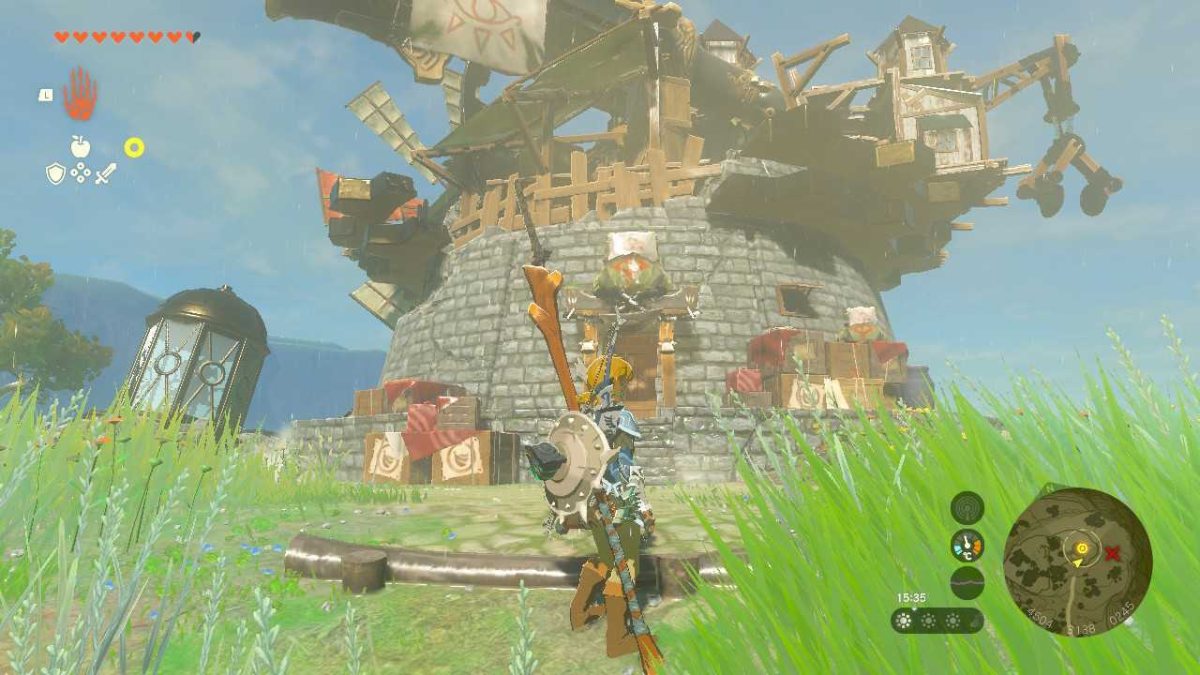
- To get the Shrines of Mild Sensor, you should have already unlocked Autobuild on your Purah Pad. Then, speak to Robbie at Lookout Touchdown and restore his Scorching Air Balloon.

- Subsequent, you’ll have to journey to Hateno Village, on the southeastern aspect of the map.
- Discover the lab on the prime of the hill (the identical location because it was in Breath of the Wild) and speak to Robbie (Coordinates: 3780, -2123, 0251).

- He’ll instantly set up the Shrines of Mild Sensor in your Purah Pad.
- When turned on, the Sensor improve will react with an audio cue once you’re heading within the course of a close-by Shrine.
- Stroll round his lab and Robbie will comment that there have to be a Shrine close by.
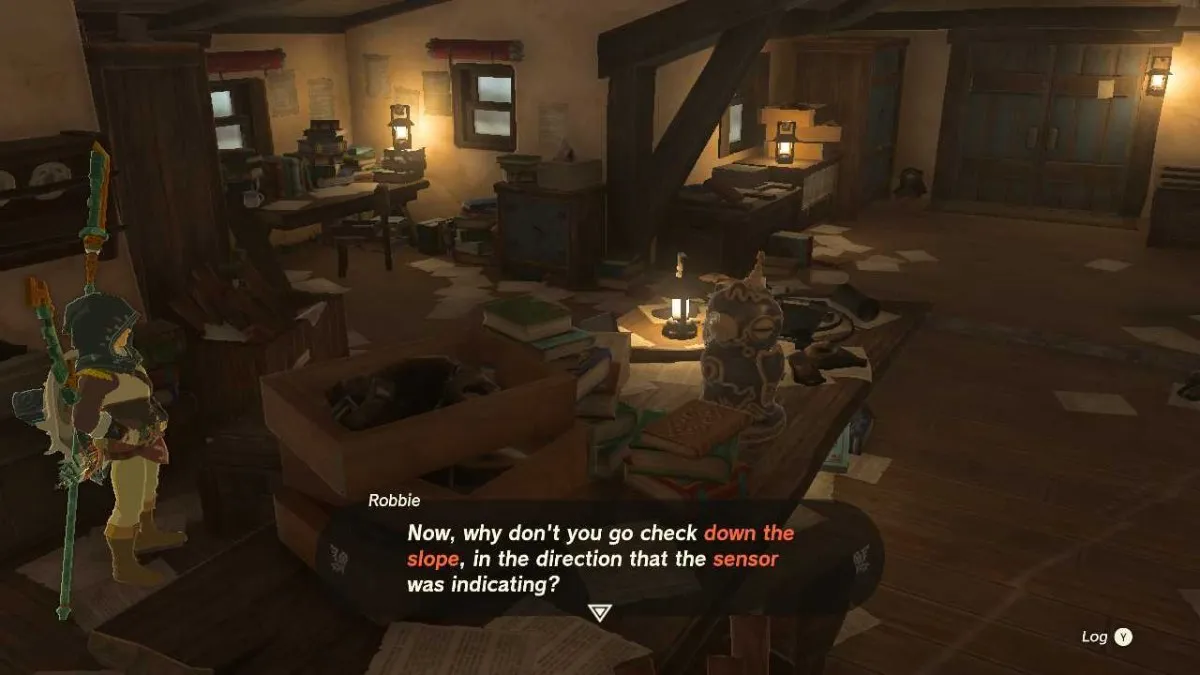
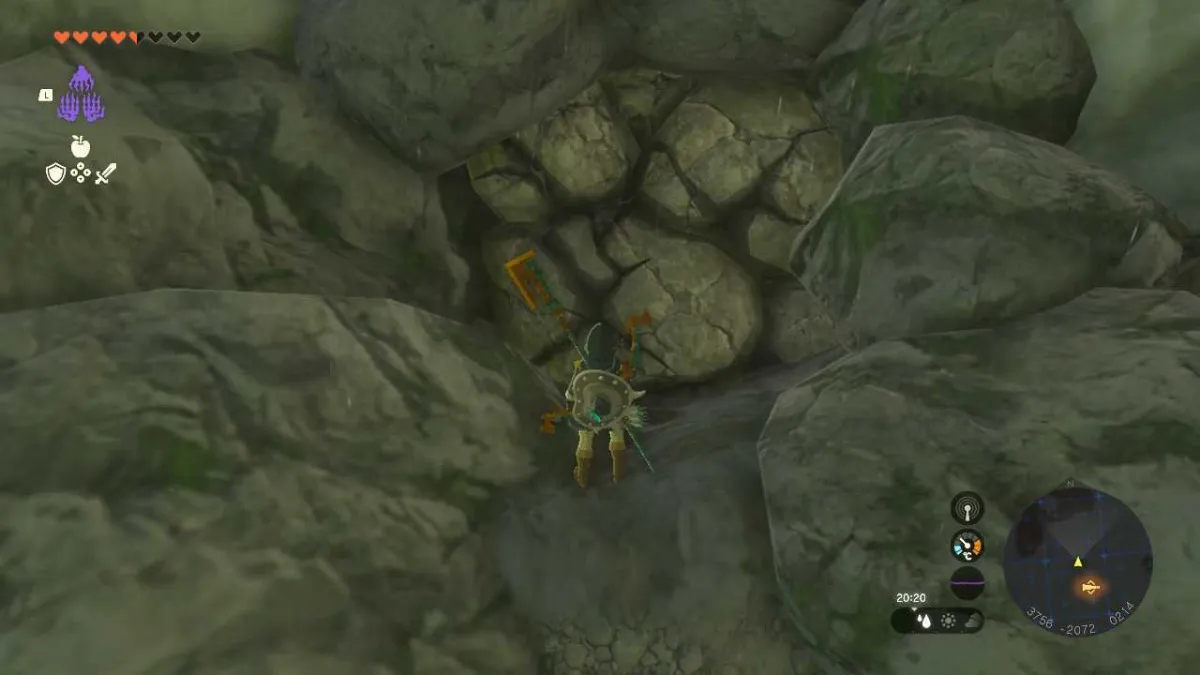
- Earlier than you permit, you’ll want to search out Mayahisik Shrine which is hidden beneath a pile of rubble under the laboratory’s cliff (Coordinates: 3761, -2082, 0220).
From this level, speak to Robbie once more and also you’ll be capable of ask him about three extra upgrades for the Purah Pad: Hero’s Path Mode, Journey Medallion, and Sensor +.
Find out how to Get Hero’s Path Mode in Tears of the Kingdom
To unlock the Hero’s Path Mode function in Tears of the Kingdom, Hyperlink might want to have accomplished 15 completely different Shrines. Gamers have to have acquired the Shrines of Mild Sensor earlier than getting this improve.
Then, speak to Robbie in his lab in Hateno Village (Coordinates: 3780, -2123, 0251) to unlock the function in your Purah Pad.

Hero’s Path Mode is a function that reveals the place Hyperlink has been on the TOTK map by displaying his footprints,
Find out how to Get Journey Medallion in Tears of the Kingdom
To unlock the Journey Medallion function in Tears of the Kingdom, unlocking quick journey to a location that Hyperlink can place down wherever on the map, gamers should speak to Robbie in his lab in Hateno Village (Coordinates: 3780, -2123, 0251).
Gamers have to have acquired the Shrines of Mild Sensor earlier than getting this improve.
Robbie will inform Hyperlink that he must journey to the Akkala Historic Tech Lab on the northeast of the map (Coordinates: 4519, 3163, 0247) to retrieve the Journey Medallion Prototype.
When coming into the Tech Lab you’ll encounter two Yiga Clan members that may deal hefty injury so take care and use arrows to dispatch you enemies from afar.
Then enter the Lab the place you’ll discover the Journey Medallion Prototype ready in a chest.
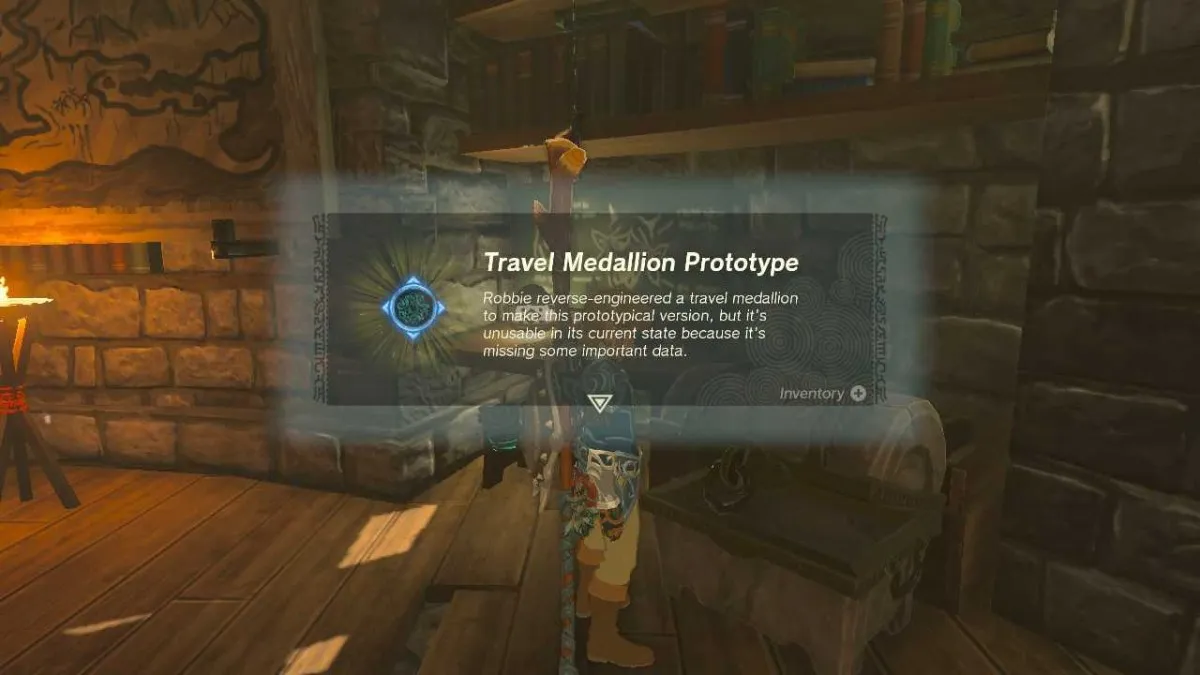
Take this again to Robbie in Hateno Village and also you’ll unlock the Journey Medallion improve, which might be positioned wherever and registered as a quick journey possibility.
By discovering all of the Skyview Towers on TOTK’s map of Hyrule, you’ll get the power to position down 2 extra Journey Medallions!

Discuss to Robbie after registering 10 after which 15 whole Skyview Towers to obtain an additional Journey Medallion to make use of nevertheless you select.
Find out how to Get Sensor + in Tears of the Kingdom
To unlock the Sensor + improve on your Purah Pad in Tears of the Kingdom, merely take an image of 5 various kinds of monsters utilizing the Digicam function.
Then, speak to Robbie in his lab in Hateno Village (Coordinates: 3780, -2123, 0251) and he’ll improve your present Sensor skill.

In fact, gamers have to have acquired the Shrines of Mild Sensor earlier than getting this improve.
Sensor + works just like the preliminary Shrine of Mild Sensor besides it may be used to find any enemy or materials that Hyperlink has taken an image of. Merely select something in your Compendium to start monitoring it with audio cues.
And voila! You now have all the Purah Pad upgrades in The Legend of Zelda: Tears of the Kingdom!
If we uncover any late-game upgrades, we’ll make sure to replace this text with all the data you want.
