
To resolve the Solved by the Bell puzzle in Hogwarts Legacy, gamers should play the right bell sequence in Clagmar Fort utilizing the Musical Map.
However to seek out the Musical Map, you could navigate by means of Henrietta’s Hideaway in Manor Cape.
- Head to Henrietta’s Hideaway in Manor Cape
- Discover The Musical Map in Henrietta’s Hideaway
- Discover The Bells in Clagmar Fort
- Play The Right Bell Sequence
Navigating by means of this quest is hard at instances, however fortunately this information will cowl all of the steps it’s good to comply with, together with any secret chests hidden.
The place to Discover Henrietta’s Hideaway in Hogwarts Legacy
Henrietta’s Hideaway is situated within the southern area of Hogwarts Legacy, Manor Cape. Gamers should move by means of the Coastal Cavern to entry this area or use the West Manor Cape Floo Flame.
Earlier than you got down to full Solved by the Bell, it’s value noting that there are a couple of completely vital spells you’ll want to resolve a number of the puzzles. These spells embody:
- Glacius
- Wingardium Leviosa
- Incendio
- Accio
There are additionally loads of treasure chests to seek out alongside the way in which. Ensure you’ve arrange your character to maximise rolls and procure one of the best loot attainable in Hogwarts Legacy.
- Attain Henrietta’s Hideaway utilizing the West Manor Cape Floo Flame or the Coastal Cavern.
- In the event you’ve visited this space earlier than, quick journey to the West Manor Cape Floo Flame.
- In the event you’ve by no means visited the southern area of Hogwarts Legacy, you’ll must fly by means of the Coastal Cavern to entry it.
- Set your waypoint to the West Manor Cape and head by means of the cavern.
- You may’t use your broomstick, so simply run by means of the enemies. You’ll encounter an Notorious Foe on the finish that you could simply keep away from.
- When you’ve reached the cavern’s finish, soar in your broomstick and comply with the waypoint information.
- Exit the constructing with the West Manor Cape Floo Flame and hop in your broomstick.

- Fly straight from the place you exited and comply with the sting of the cliff.
- You’ll move a touchdown platform and a few folks flying kites on the midway level.
- It is best to see a broken-down constructing from the place persons are flying kites. Beneath this constructing is the place you might be headed.

- Proceed following the cliff’s edge till you attain the broken-down constructing. You don’t must battle the enemies, and it’s not really helpful except you’re over stage 30 since an Notorious Foe is guarding this space.
- As an alternative of stopping close to the highest of the constructing, fly round it, and also you’ll see some stairs resulting in a cavern.
- Attempt to land unspotted, otherwise you’ll be compelled to battle a couple of enemies. Solid Revelio and sneak your approach down if vital.
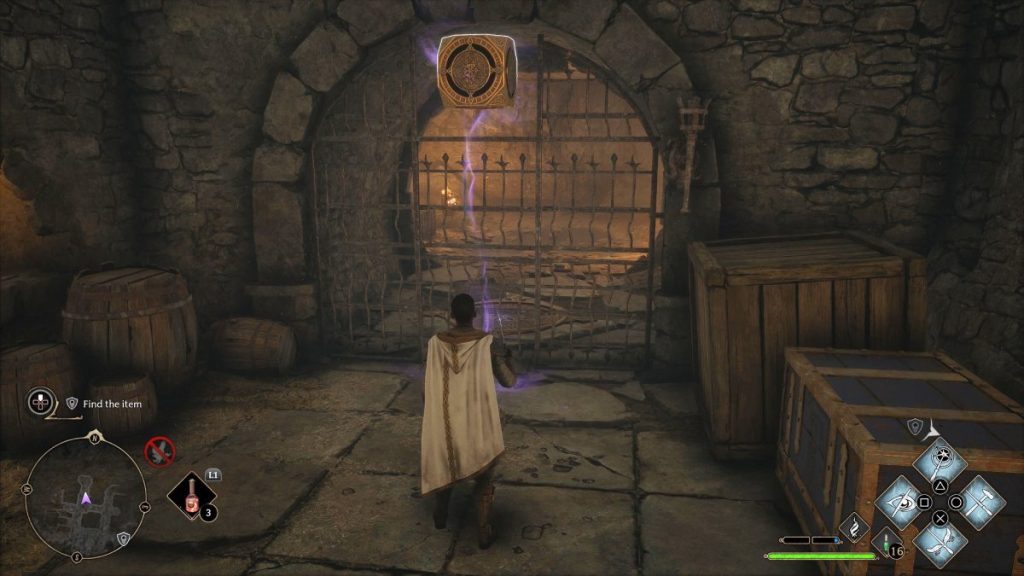
- Work together with the picket door on this cavern to go into Henrietta’s Hideaway.

Methods to Discover Musical Map Hogwarts Legacy
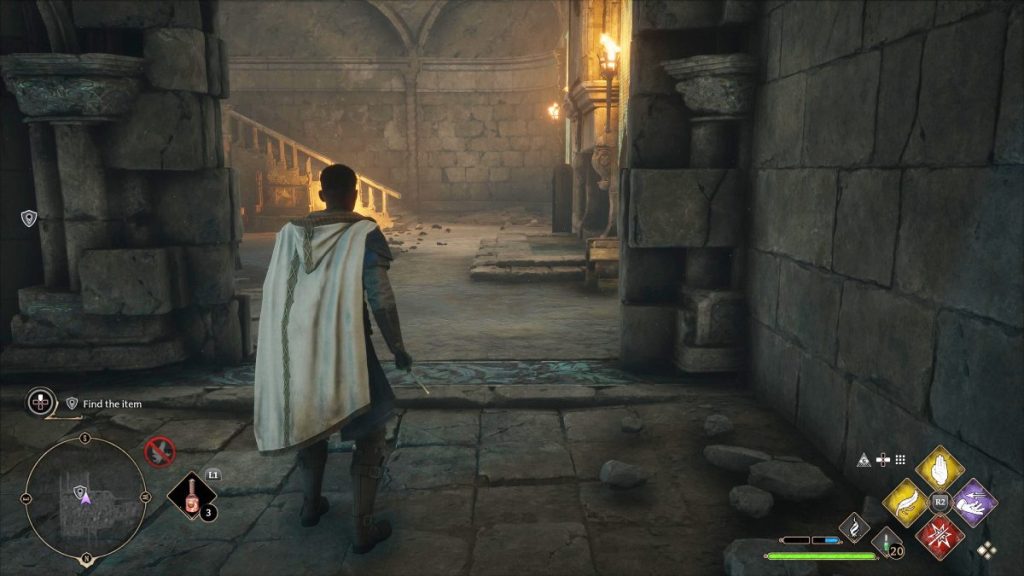
The Musical Map for Solved by the Bell is discovered on the finish of Henrietta’s Hideaway in a room with giant home windows and damaged pillars. To achieve it, gamers should defeat enemies and navigate a sequence of puzzle rooms.
Entrance Room
- You’ll see two spell dice platforms once you first enter Henrietta’s Hideaway. One platform already has a spell dice on it.
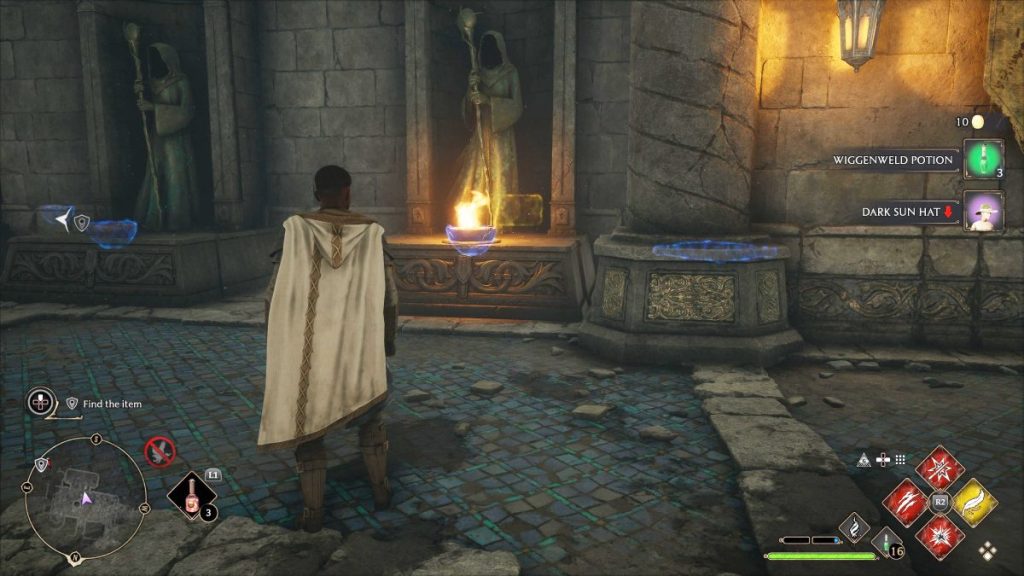
- The second spell dice is discovered by casting Incendio or Confringo on the brazier underneath the statue on the north facet of the room.
- When you solid the spell and lightweight the brazier, the statue will spin and reveal the second spell dice.
- There’s a comparable statue on the south facet of the room. Solid Incendio on the brazier to disclose a big chest.
- Solid Wingardium Leviosa on the spell dice and place it on the platform to the left.
- Activate the left spell dice by casting Incendio on it.
- Then you’ll be able to activate the proper spell dice by casting Glacius on it.

- This may unlock the door and permit you to enter the subsequent part of the map.
Hippogriff Room
- Within the subsequent room, you’ll discover some enemies patrolling round a big Hippogriff statue.
- Filter the room of enemies. We suggest preserving Levioso at hand to maintain some enemies suspended when you battle.

- As soon as the room is obvious, you’ll discover a couple of hallways on this room. Three hallways result in secret chests and one to the Musical Map.
First Secret Chest
- Return up the steps to the place you first entered the room.
- Flip in the direction of the northern a part of the room.
- Right here you’ll see a hallway with a locked door to your left. Comply with this hall.
- When you flip left, use Revelio to spotlight the ground. In the event you have been to stroll in the direction of this ground, the wall in entrance of you’d suck you in and take you to a different room.

- This room has some loot, resulting in a room with an Inferius you’ll must battle.
- When you defeat the Inferius, stroll in the direction of the left facet of the wall with the door. The stones will open up and return to the place you have been first sucked into the wall.
- To keep away from getting sucked into the wall, use Wingardium Leviosa on the torch subsequent to you.
- Stroll in the direction of the wall. The wall will suck within the torch, permitting you adequate time to sneak to the opposite facet.
- You’ll discover a chest and a hall resulting in the locked door. Use Depulso or Confringo to interrupt the picket door and lead you again to the doorway of the Hippogriff Room.
Second Secret Chest
- Head in the direction of the Hippogriff statue. In the event you look north, you’ll see a hall main downstairs. Comply with this hall till you’re at a crossroads.
- Right here you will notice two completely different paths. Each of those paths result in treasure chests.
- Stroll straight and see a steel gate with a spell dice platform. You’ll see the spell dice on the opposite facet of the gate within the distance.
- The steel gate has a gap on the prime that’s giant sufficient to get the dice by means of. Your purpose is to levitate the dice by means of there.
- Solid Accio on the spell dice to deliver it proper subsequent to the steel gate. As soon as the spell dice is inside distance, solid Wingardium Leviosa on it.

- Levitate the dice and information it by means of the opening within the steel gate. As soon as the spell dice is in your facet of the gate, drop it on the spell dice platform.
- Solid Incendio on the spell dice to open the steel gate door.
- You’ll discover a Room of Requirement chest on this room and an Inferius it’s good to defeat.
Third Secret Chest
- Head again in the direction of the doorway of the hall. As an alternative of heading straight into the Hippogriff Room once more, head into the western hall to your proper.
- Comply with this path, and also you’ll see an analogous puzzle to the second chest. However, this time, the spell dice is in your facet of the steel gate.
- Solid Wingardium Leviosa on the spell dice to levitate it.
Fourth Secret Chest
- From the hall, you’ll see three statues. The one on the proper has the brazier lit, whereas the one within the center has the brazier put out.
- Solid Glacius on the statue on the proper to disclose a chest.
- Then solid Incendio on the state within the center to disclose a platform with a button.
- Leap onto the platform, which can rotate and take you right into a secret room.
- Inside this room, you’ll be able to seize the chest from the third statue with out interacting with the brazier.
- However that isn’t crucial merchandise right here. In the event you look in the direction of the western a part of the room, you’ll see some bins protecting a spell dice platform. Destroy these bins.
- Flip in the direction of the jap facet of the room, and also you’ll see the spell dice close to some barrels.
- Solid Wingardium Leviosa on the spell dice to levitate it towards the spell platform. Use Incendio to activate the spell dice.

- Head again to the Hippogriff Room by utilizing the identical statue button.
- From the statue, trying northeast. You will note a spiral staircase. Head up the staircase and take the primary left.
- This may lead you to a room unlocked by the spell dice with loads of loot.
Musical Map Room
- When you’ve grabbed the ultimate items of loot, flip round and head up the small set of stairs. Comply with this path, and also you’ll see the again of the Hippogriff Statue.
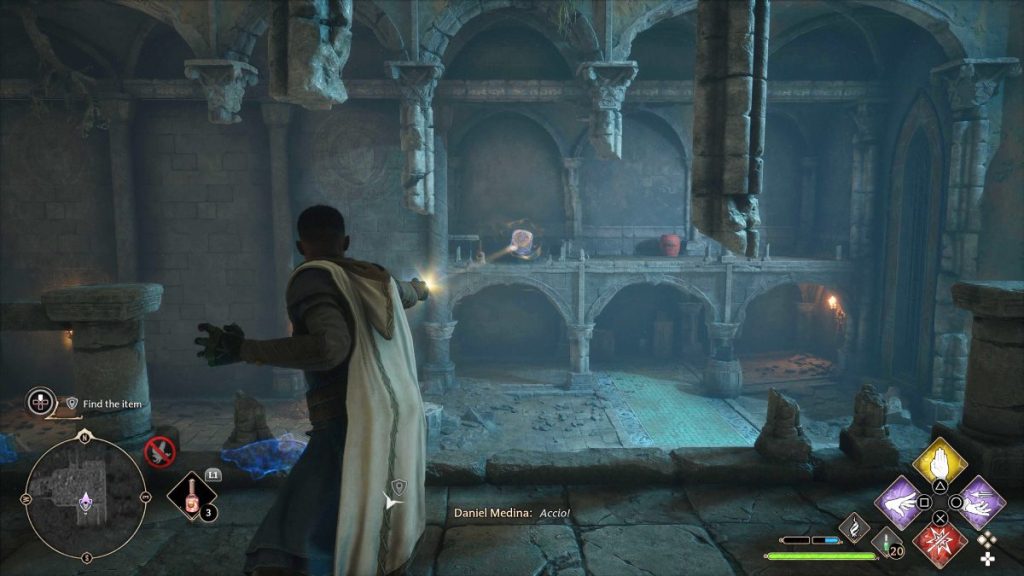
- Proceed following the trail till you encounter an enemy. Solid Accio on the enemy. This may pull them in and reveal one other wall that sucks in objects. However this doesn’t result in a secret room.
- In the event you get sucked into the wall, it’ll spit you out immediately behind it, blocking you from persevering with towards the Musical Map.
- As an alternative, solid Wingardioum Leviosa on any barrels on torches on this space and use them to bait the wall.

- With the merchandise levitated, head close to the wall till it sucks within the merchandise. Then rapidly run by means of the ground to achieve the opposite facet.
- Comply with the hall to achieve the ultimate room of Henrietta’s Hideaway.
Solar Witch Room
- Within the ultimate room of Henrietta’s Hideaway, you’ll see a big witch statue holding a workers with a solar on it—scattered all through the room and lots of ashwinders, together with some robust foes.
- This part recommends utilizing a Maxima Potion to boost your assault energy.

- Head down and defeat the entire ashwinders. You’ll want to string rigorously as a result of some enemies can halt your motion.
- As soon as all of the enemies are defeated, look in the direction of the south facet of the room. Beneath the platform, you’ll see a wall with cracks on the proper. Stroll in the direction of it, and it’ll mechanically open.
- Lastly, gamers can choose up the Musical Map on this room on prime of a desk with candles on the room’s northern wall.
- As soon as the map is obtained, solid Wingardium Leviosa on the spell dice. Information the dice up the steps and thru the wall.
- Place the dice on the spell platform to the left of the door.
- Solid Levioso to activate it.
- The second spell dice is on the platform the place the Ashwinders attacked you.
- Head up the steps behind you and solid Accio to drop the dice from the platform. Solid Wingardium Leviosa to position the dice on the platform to the proper of the door.
- Solid Incendio to activate it.
- Comply with the hall and open the legendary chest to your left. When you’ve grabbed the loot, soar on the platform in order that it spins into one other room.
- This platform will lead you to the doorway of Henrietta’s Hideaway. Head to the left and exit the hideaway.
Now that you just’ve obtained the Musical Map, it’s time to seek out the bells proven within the image and accomplished Solved by the Bell.
Methods to Discover Bells From Musical Map
To search out the bells proven within the Musical Map and full Solved by the Bell, gamers want to go in the direction of Clagmar Fort, southeast of Henrietta’s Hideaway.

- Whenever you exit Henrietta’s Hideaway, deliver out your broom. Fly in the direction of the rock formations forward of you.
- You’ll see a big citadel as quickly as you attain the highest of the rock formation. That is Clagmar Fort and the situation of the bells.

- You’ll see a wall on the citadel with an open circle on the prime. Behind this circle is a wall that incorporates the bells you might be searching for.
- There are a number of high-level enemies on this space. If you wish to keep away from them, land on the platform earlier than the bells and solid Disillusionment on your self. They may depart you alone.
These are the bells proven within the Musical Map. Now, the one step left to do is to play the melody proven on the map.
Methods to Resolve Hogwarts Legacy Bell Puzzle
Beginning with the very prime bell as primary, hit the bells within the following sequence to resolve the Hogwarts Legacy bell puzzle: 8-5-3-4-5-1-2-4.
As you hit every bell, a word will seem on the sheet music etched into the brick wall. Your purpose is to recreate the sheet music on the backside of the Musical Map.
When you recreate it, you’ll be greeted by a well-recognized tune from Hogwarts.
Here’s a visible of every bell and the quantity it represents:

There isn’t any timeframe for when it’s good to hit the bells. As soon as a bell is hit then, the word will keep on the music sheet till all eight notes are stuffed.
After you full this, you’ll see a treasure chest pop as much as signify that you just’ve accomplished the Solved by the Bell Hogwarts Legacy facet quest.
