Performance Gaming Monitor for Budget Builds
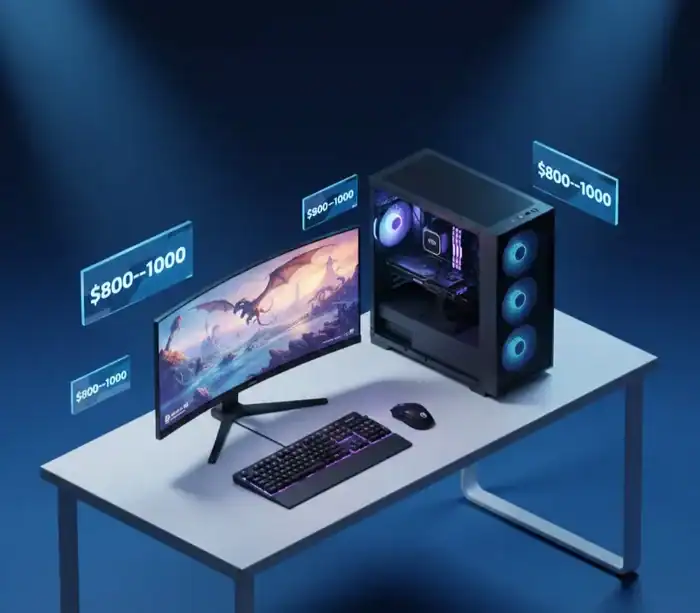
A good budget gaming PC in February 2026 shouldn’t feel like a compromise. With smart picks, you can get smooth 1080p today and solid entry 1440p without paying for bragging rights.
| Budget target | CPU + GPU core | What it’s best for |
|---|---|---|
| ~$800 to $850 | Value 6-core + value GPU | 1080p high settings, esports at very high FPS |
| ~$900 to $950 | Ryzen 5 9600X + value GPU | 1080p high to ultra, quieter and cooler builds |
| ~$950 to $1000 | Ryzen 5 9600X + RX 9060 XT 8GB | 1080p ultra, 1440p medium to high in many games |
This guide is a value-oriented budget article, so I’m not going to bother racing after the most recent hype. You will also see realistic FPS expectations for 1080p and entry 1440p, as well as the necessary components to ensure the system runs like a dream. Prices fluctuate a lot, so think in ranges and buy the best deal on the day you order. You’re also going with AM5, which is a sounder investment for the future. Here’s the sweet spot where a DIY gaming PC begins to feel “premium” while still being reasonably priced.
The $800 to $1000 Parts List That Makes Sense in 2026
Here’s a simple parts list you can shop around, with price ranges that match what’s been common across recent build lists and listings.
| Part | What it does | Smart pick for this budget | Realistic price range |
|---|---|---|---|
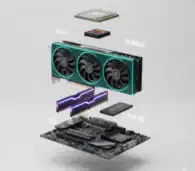
| CPU | Runs game logic, feeds frames to the GPU | Ryzen 5 9600X (AM5) | $190 to $230 |
| GPU | The main driver of gaming FPS | Radeon RX 9060 XT 8GB | $290 to $340 |
| Motherboard | Connects everything, sets upgrade options | B650M board (AM5, DDR5) | $120 to $170 |
| RAM | Helps with smooth gameplay and multitasking | 16GB (2x8GB) DDR5-6000 (EXPO) | $70 to $110 |
| SSD | Game load times, Windows speed | 1TB NVMe (PCIe 4.0) | $55 to $85 |
| PSU | Clean power, protects parts | 650W, 80 Plus Bronze or better | $60 to $95 |
| Case | Airflow and fit | Mesh-front airflow case | $50 to $90 |
| Cooling | Keeps CPU temps in check | Stock cooler (if included) or $20 to $35 tower | $0 to $35 |
Why this CPU and GPU combo works: The Ryzen 5 9600X has a high single-core speed but also many cores to handle the most demanding games. The value play is the RX 9060 XT 8GB for me when pricing slips consistently down to near that low $300 point, as it has a habit of coming in first on raw frames per dollar at 1080p.
If the RX 9060 XT is unavailable or priced weirdly, the safe Plan B is an RTX 5060-class card at around that same price. Figure a little less Raster performance in some games, but better upscaling support (DLSS) and more Ray tracing for your money.
Motherboard is easy: I think a B650M would cover costs and still keep you on AM5 with DDR5. That means they’re upgradeable later without needing to swap everything out. For storage, I agree with /u/tangentialfocus a 1TB NVMe drive is the QoL “part that everyone wishes they didn’t skip.” Games are big, and running out of room gets old in a hurry.
A good PSU is more important than many people realize. A budget unit could be the cause of crashes, coil whine or worse. A good 650W supply also allows some headroom for a future GPU upgrade.
A few rules of thumb that save money and headaches:
- Buy airflow, not glass: a mesh-front case usually runs cooler and quieter than a sealed “showcase” box.
- Aim for 1TB NVMe: fewer installs and uninstalls, faster patching, less stress.
- Don’t gamble on the PSU: it’s the one part that can take others with it.
Quick compatibility checklist before you buy anything
Start with the platform match. There’s your 5 year difference though, is that amazing or insane? But no: the Ryzen 5 9600X employs AM5; so your motherboard would be an ameefive with a B650 (or whatever) chipset. First, stick to one memory type. Because AM5 is DDR5-only, and people return because by dumb luck the DDR4 build shows up in their cart with it WELDED IN BONDS.
Then check physical fit. Check GPU length to make sure it will fit the clearance of your case, particularly if you go with a smaller micro-ATX case. Also make sure your PSU has the proper PCIe power connectors for your GPU too, as well as enough wattage (650W is a good baseline here).
Also, check out the motherboard information. Ensure it has sufficient M.2 slots for future storage and the correct front-panel headers (USB-C is the one people overlook). Run everything past a parts checker like PCPartPicker before you order.
What kind of gaming performance should you expect?
For reference, a Ryzen 5 9600X and RX 9060 XT 8GB will often give you around, or knock on the door of, sectioned off a few trees with marigolds right here, blocking some vision much more true to nature in performance: Many modern games can now beam shots directly to your eyeballs at over 100 FPS with these resolutions and settings. Esports titles can also run well above that number, and it’s not unusual to clear 200 FPS in lighter shooters with competitive settings.
Please anticipate at 1440p that you’re going to be more “pick your battles.” Most games hover between 60 and 90 frames per second on medium settings, depending on the title’s graphical weight. Even if you push ultra settings at 1440p, you’ll often be swapping frames for visuals.
The trade off is simple, AMD more often wins when its about raw frames per dollar, whereas Nvidia usually takes the prize with ray tracing and upscaling. Settings and resolution options are what matter, not an entire brand’s fan club.
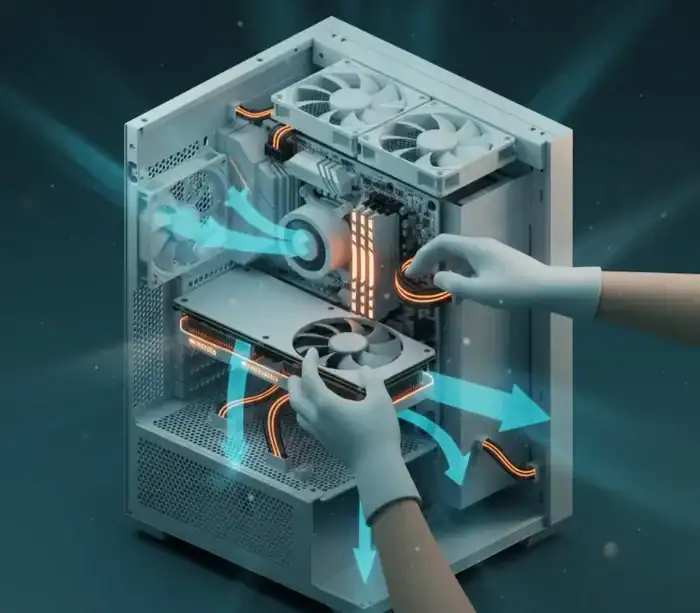
Build It, Boot It, and Make It Run Cool and Stable
If it’s your first build, treat it like building a small model kit with cables. Slow is fast here.
I’ve had the smoothest results with this build order:
- Install CPU, RAM, and SSD on the motherboard first (outside the case).
- Mount the motherboard in the case, then connect front-panel and fan cables.
- Install the PSU, route cables, then connect 24-pin and CPU power.
- Install the GPU last, then plug in PCIe power and display cables.
Keep your workspace simple. A small bowl for screws prevents the “where did that go?” moment.
A few beginner mistakes to avoid:
- Don’t forget to remove the plastic film on the cooler cold plate.
- Plug your monitor into the GPU, not the motherboard video port.
- Don’t crank screws down hard, snug is enough.
If you plan to record gameplay later, Windows capture can be quick to set up (see Game Bar Windows 11 setup and recording). For more control, OBS Studio recording is the next step, then trim clips with free video editing apps for gaming.
First boot checklist, BIOS settings, and drivers that actually matter
On first power-up, give the system a minute. The initial memory training can take longer than you expect.
Use this short checklist:
- Enter BIOS, confirm CPU and RAM are detected, and check idle temps.
- Update BIOS only if you need CPU support, or you hit stability issues.
- Enable the RAM profile (EXPO on AMD) so it runs at the rated speed.
- Turn on Resizable BAR (often labeled Above 4G Decoding plus Re-Size BAR).
- Set boot order to your USB installer, then install Windows.
On Windows, install AMD chipset drivers first, then GPU drivers, then run windows update. Then just watch temps and fan speeds with a basic monitoring tool while gaming. Despite it, the desktop replacement wasn’t too hot for laptop either (for the price tag) – with CPU and GPU temperatures remaining below in 80s Celsius during long play sessions is a good sign often (assuming room temperature is normal).

Stretch Your Budget Further: Smart Swaps, Upgrade Paths, and When a Prebuilt Is Fine
If you’re cutting corners to stay under $1,000 do it in a way that affects stability and FPS. Save where it doesn’t.
Used parts fit in some spots. I am okay with buying a used case or fans, and on occasion even a GPU if the seller can provide evidence of regular temps and 0 artifacts. On the other hand, I purchase the PSU and SSD new, nothing is worse than failure in those areas.
Two easy budget dials:
- Near $800: step down the CPU (while staying AM5 if deals allow), start with a smaller SSD, and skip extra fans.
- Near $1,000: jump to 32GB RAM or grab the best-value GPU sale.
For the next 12 to 24 months, the clean upgrade path is simple: add storage first, move to 32GB RAM when it’s cheap, then upgrade the GPU later. If you prefer a couch setup, pairing your PC with a controller helps for a lot of games (see best gaming controller for PC and mobile).
Prebuilts can be fine in this range if the price is right and the parts are named clearly. DIY still wins on part quality control and airflow choices, while prebuilts win on single-warranty convenience. If you’re weighing other options, a laptop can make sense for travel (see best gaming laptops under $1500), and a handheld setup can cover a different style of play (see Steam Deck setup guide).
The easiest ways to hit $800 without ruining the build
Start with the “safe cuts.” Get a cheaper airflow case, forget the RGB fans and buy whatever 512GB to 1TB SSD is on an actual sale. Although if your CPU comes with a stock cooler, you can always use it for now and upgrade later if noise is bugging you. Or downgrading one CPU tier can help if it allows for a better GPU to stay in the cart.
Avoid the painful cuts. Do not get a no-name PSU, do not purchase single-stick memory and if you play modern games you should avoid dropping beneath 16GB. Those are the kinds of decisions that save a few bucks in the short term and cost you misery every day.
Frequently Asked Questions
[xyultra_faq]
Conclusion
A good $800 to $1000 PC isn’t a matter of luck, but one of balance. “You wouldn’t put a Porsche motor with a worst class one driver, and a best in class driver behind the steering wheel of a tractor,” says Johnson. “It’s certainly going to underperform; it’s still not functioning at its best.” Couple that savvy CPU decision-making with the most cost-effective GPU you can afford on that particular week, backing it up with quality power delivery and case ventilation. Plan ahead and upgrades remain easy and inexpensive because you are not building from scratch. Price-check the list, verify compatibility, build, update drivers, make sure a few games work to lock in stable performance.
Share this article

Aisha is a dedicated gaming contributor who spends her time tracking down the latest digital treasures. She believes every player deserves a head start, which is why she personally verifies every active game code and reward guide before it reaches the community. From Pet Capture Adventure to hidden fishing mechanics, Alma’s goal is to ensure that gamers always have access to reliable bonuses that genuinely enhance their gameplay experience.
View all articles
No comments yet
Be the first to start the conversation!